> ## Documentation Index
> Fetch the complete documentation index at: https://fillout-005a867b-dependabot-npm-and-yarn-ip-address-10-4-0.mintlify.site/llms.txt
> Use this file to discover all available pages before exploring further.
# Send email notifications with SendGrid
> Notify respondents after they submit your Fillout form with customizable emails that can include dynamic data. Add or update their existing contact information.
export const SupportBanner = () => {
const titleId = React.useId();
return ;
};
## What is SendGrid?
[**SendGrid**](https://sendgrid.com/) is a service that helps websites and apps send emails to their users. It is handy for businesses and developers who want a reliable way to send emails, like signup confirmations or newsletters, to their users.
## How it works
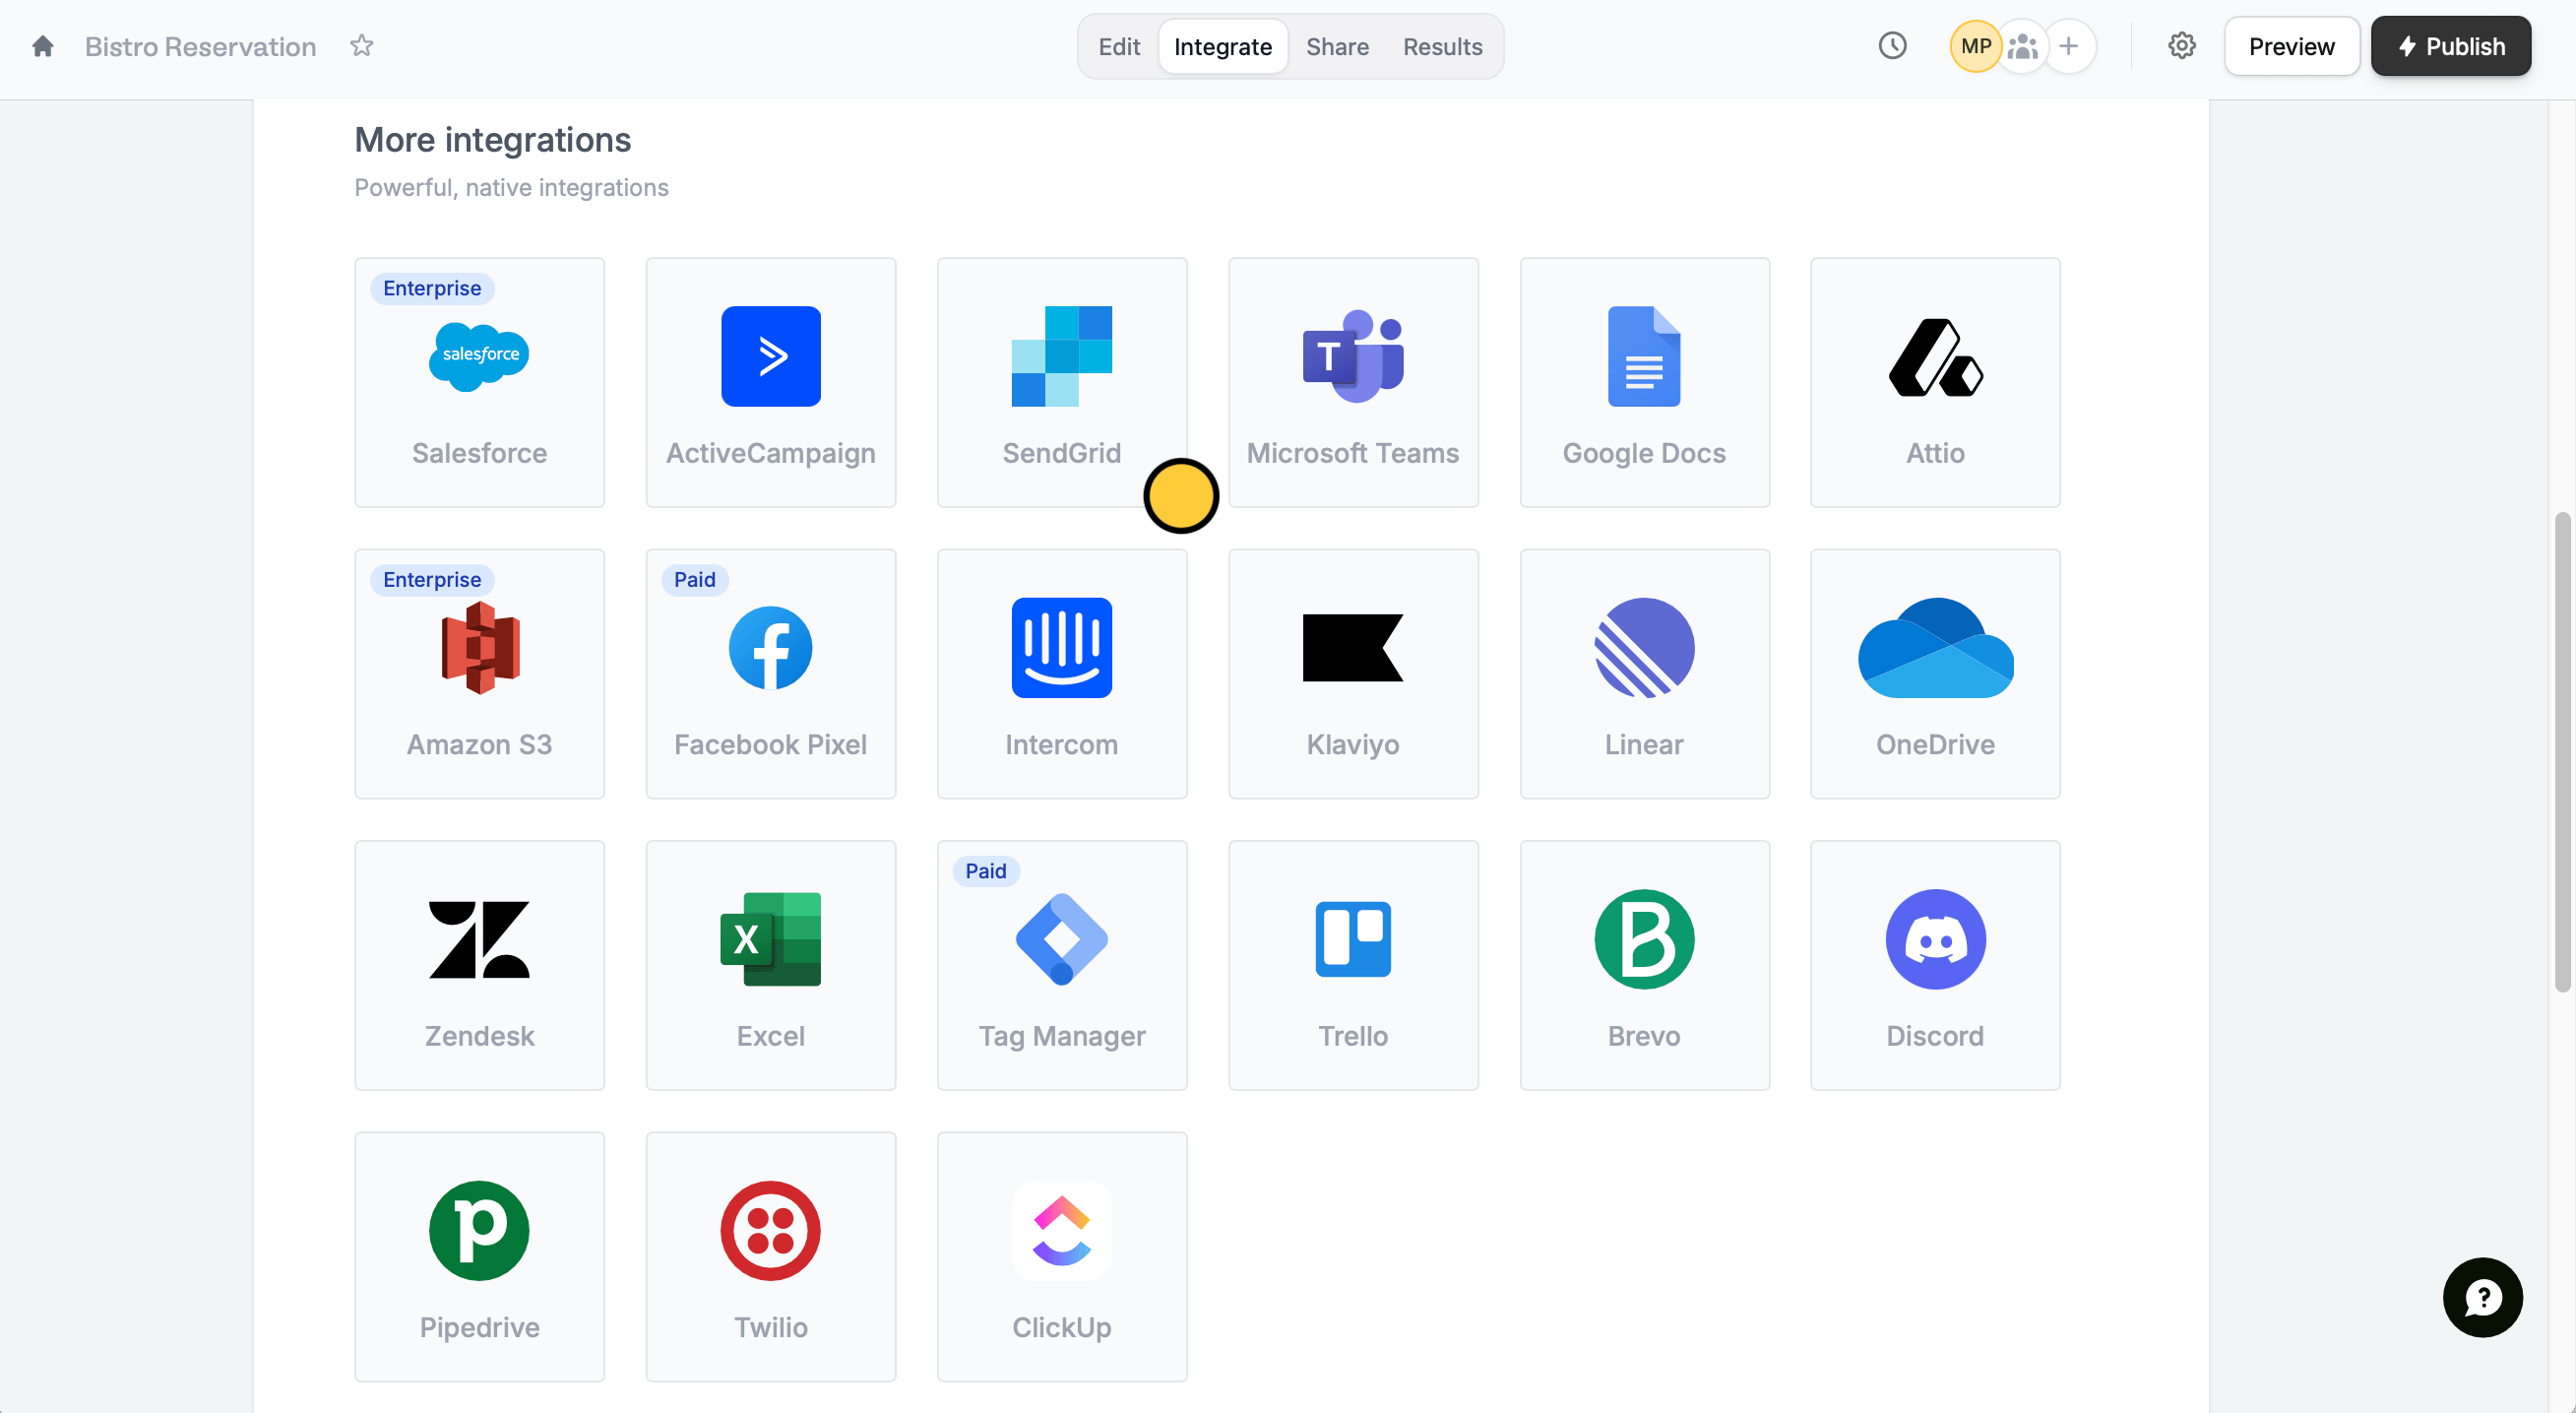
Open your form. Click `Integrate` from top followed by `SendGrid`.
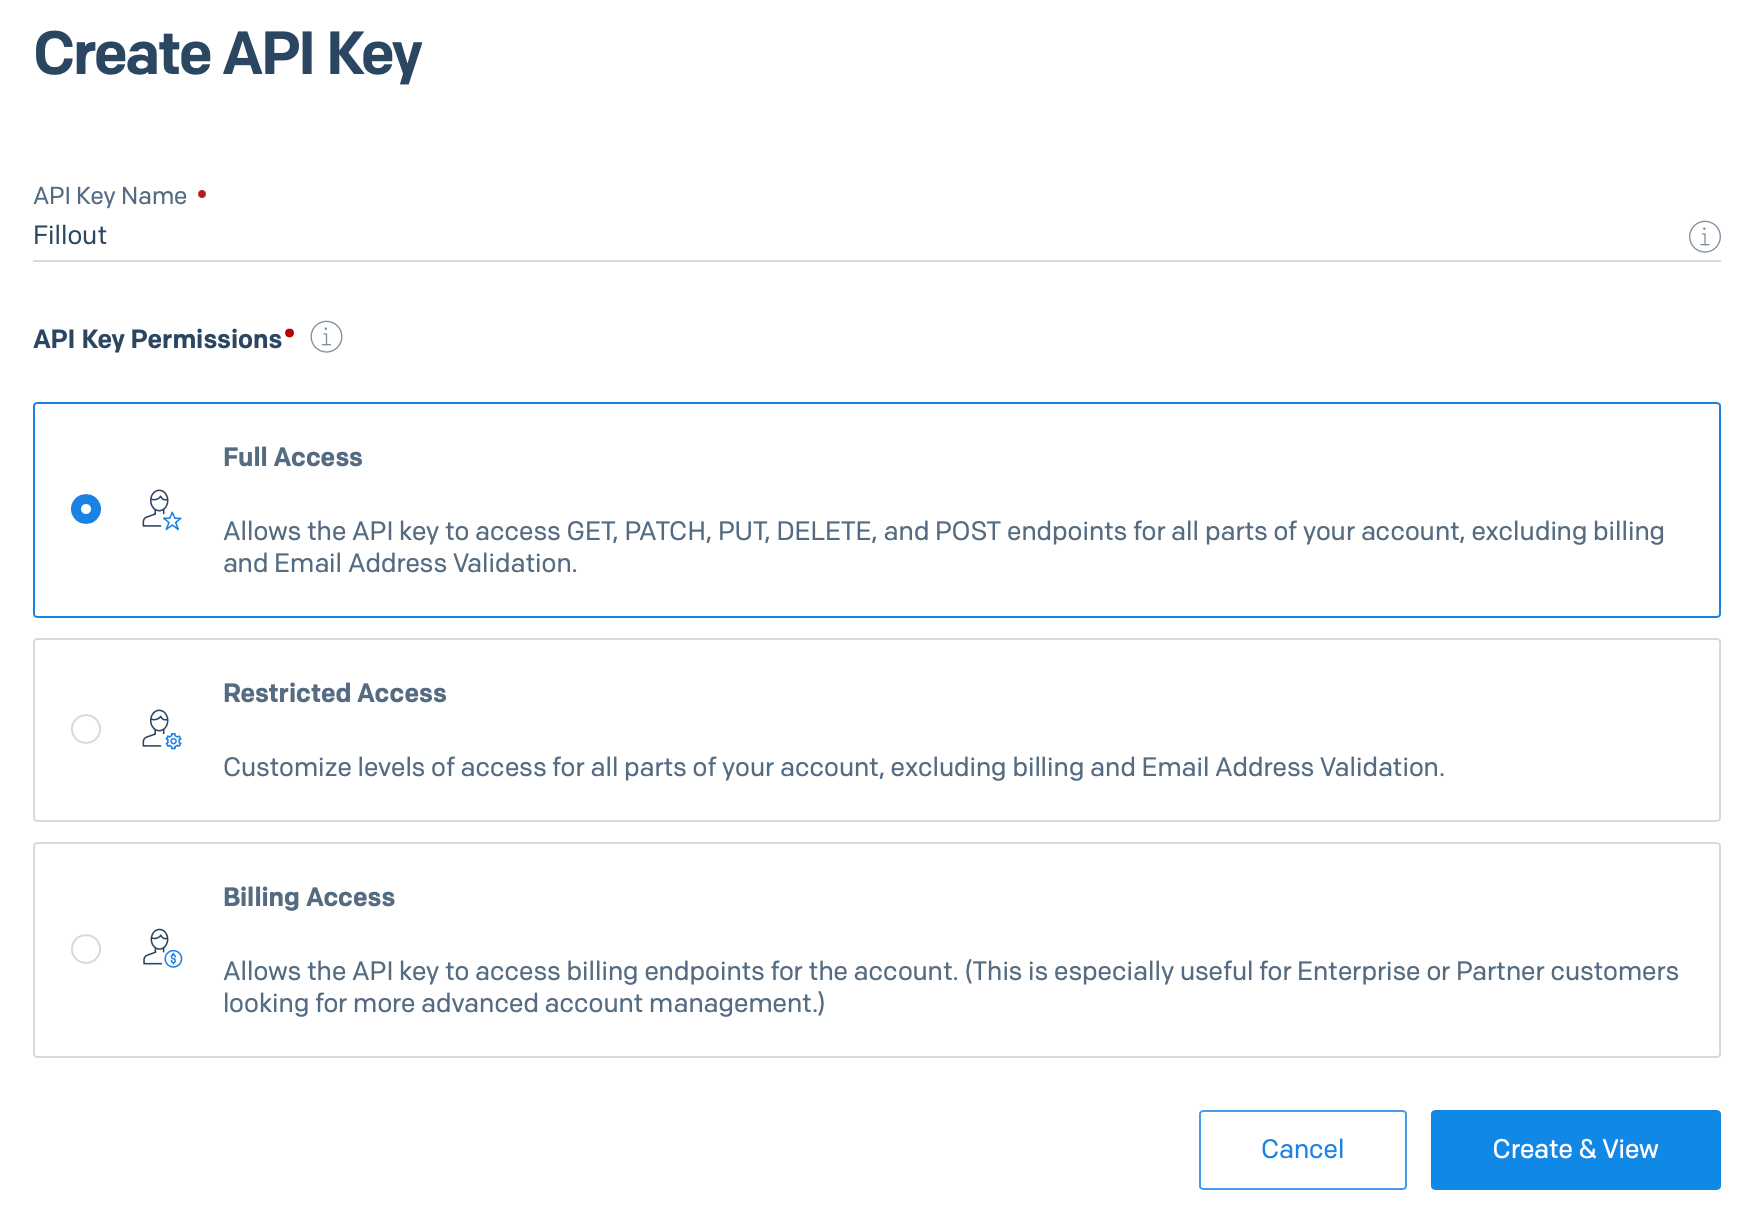
 Enter your **API Key** in Fillout. You can find this in the **Settings** section of your SendGrid dashboard. `Create API Key` on the upper right corner. Enter a **Name**, then go with the default `Full Access` permission.
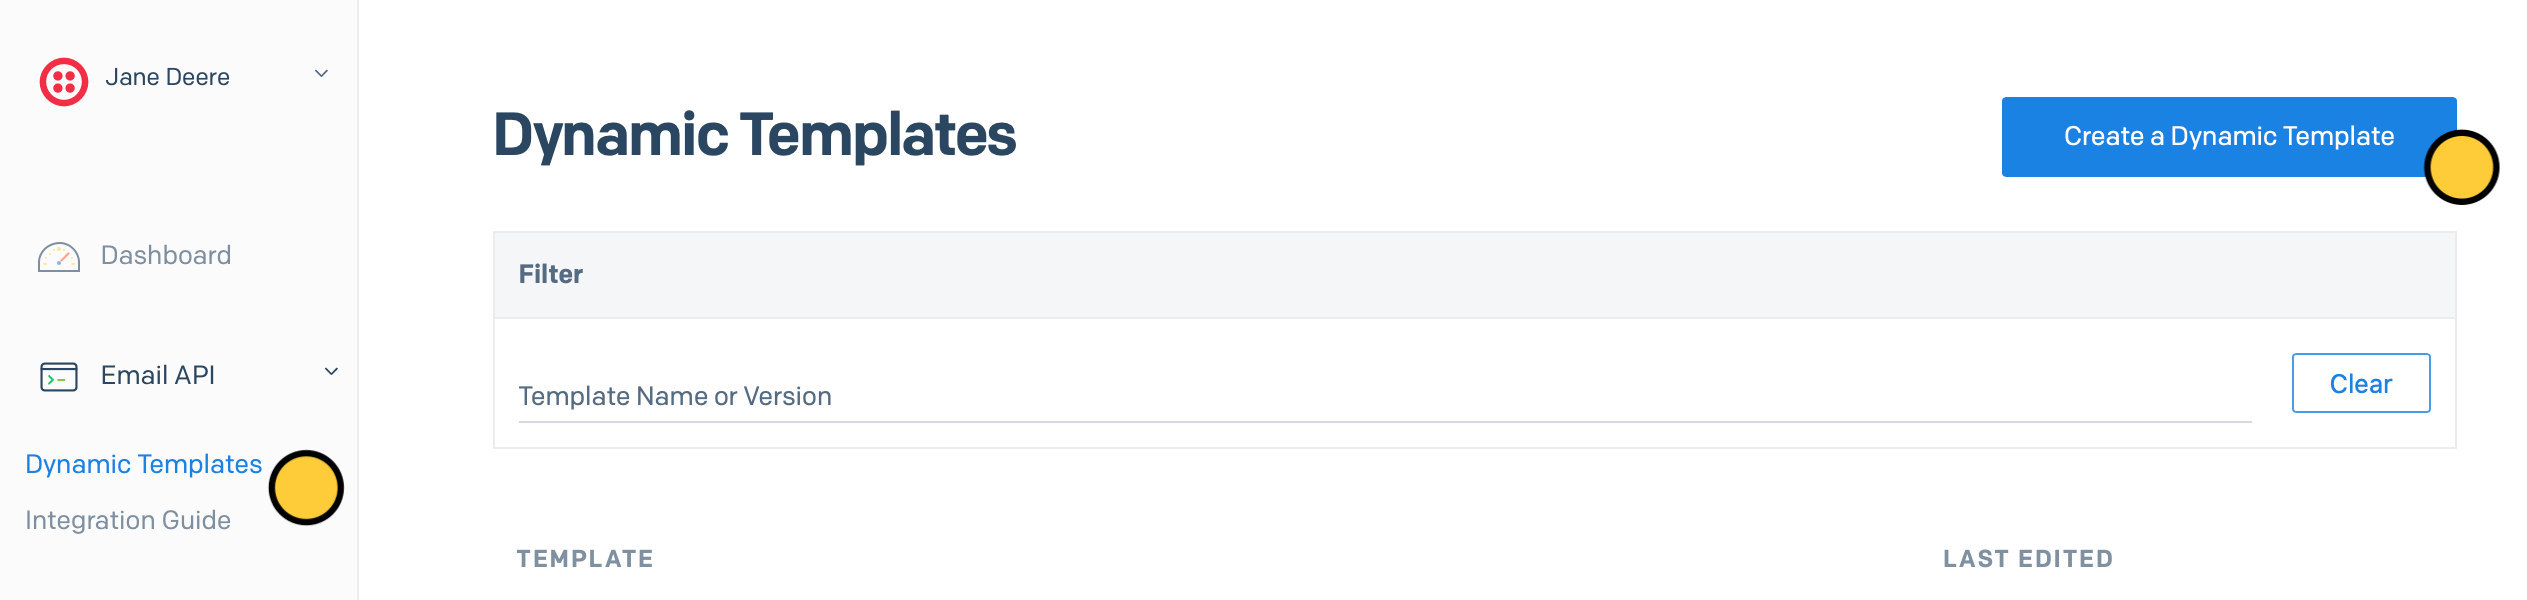
 If you don’t have a template on SendGrid yet, select `Email API` on the left-hand panel followed by `Dynamic Templates` and `Create Dynamic Template`.
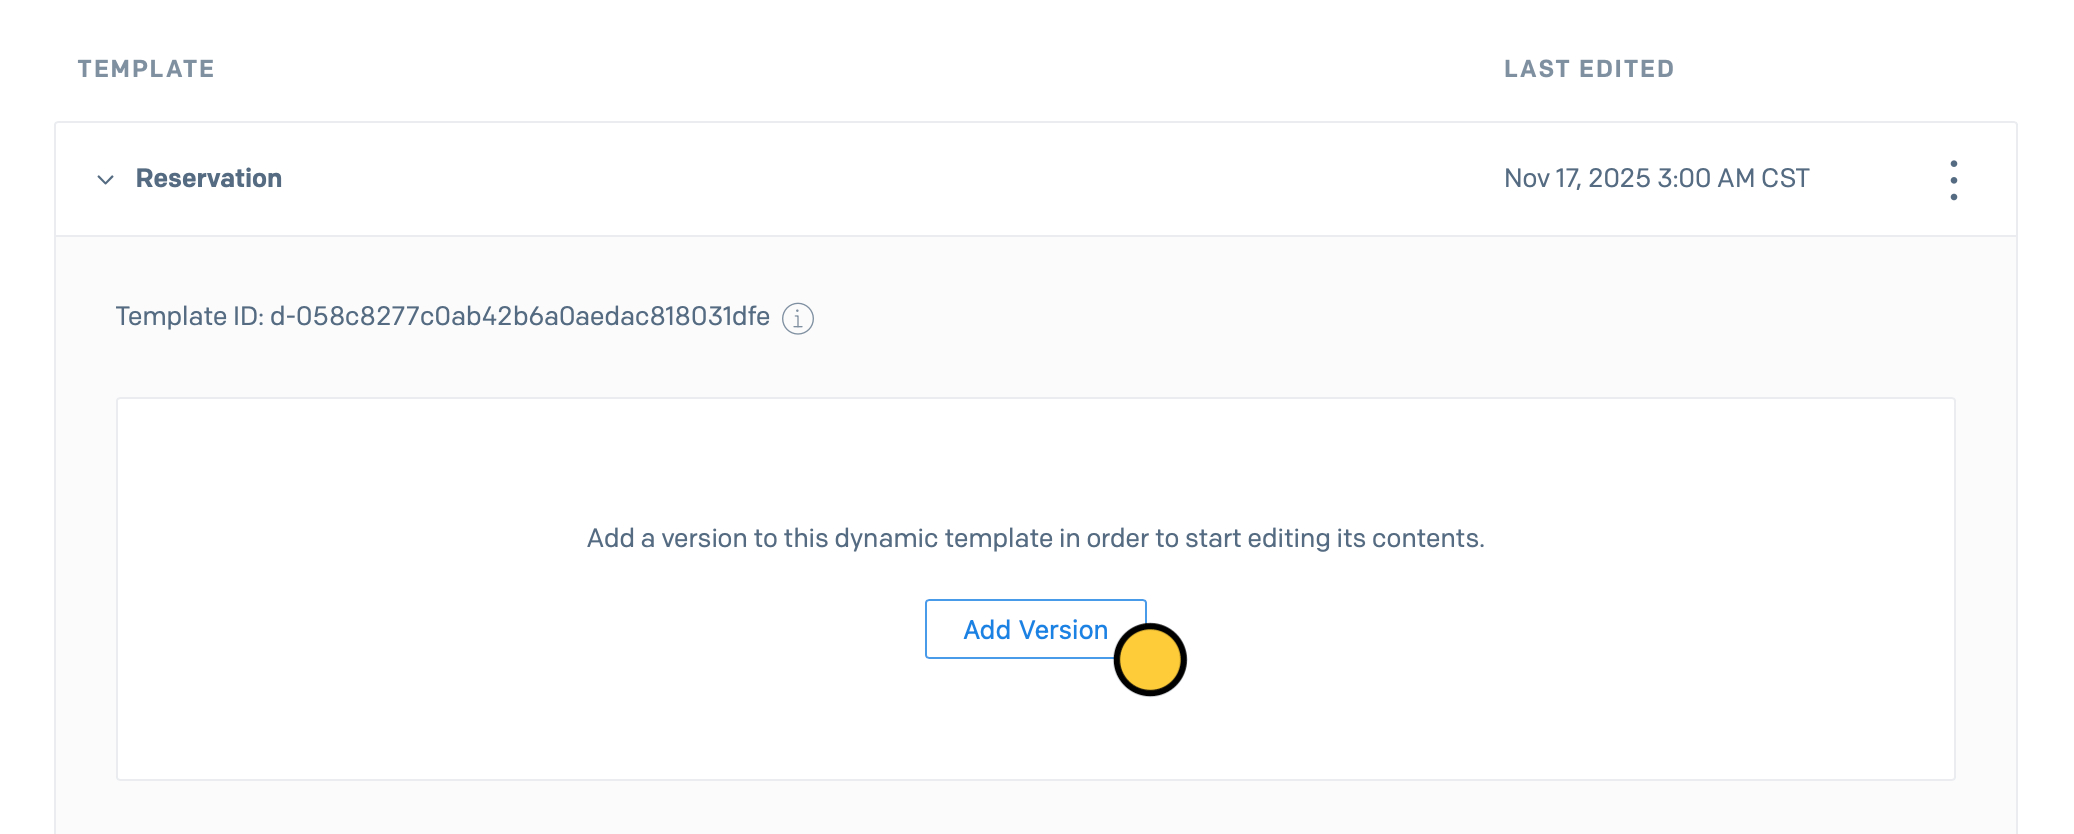
 Click `Add Version` and start with a **blank template** or choose a **SendGrid Email Design**. Customize your email template as you see fit.
 On Fillout, [link your form fields](https://www.fillout.com/help/additional-integration-mappings#how-to-map-fields-manually) to the corresponding fields in your SendGrid contacts. For example, link the email address to its respective field. Then, fill out the **Sender identity** section.
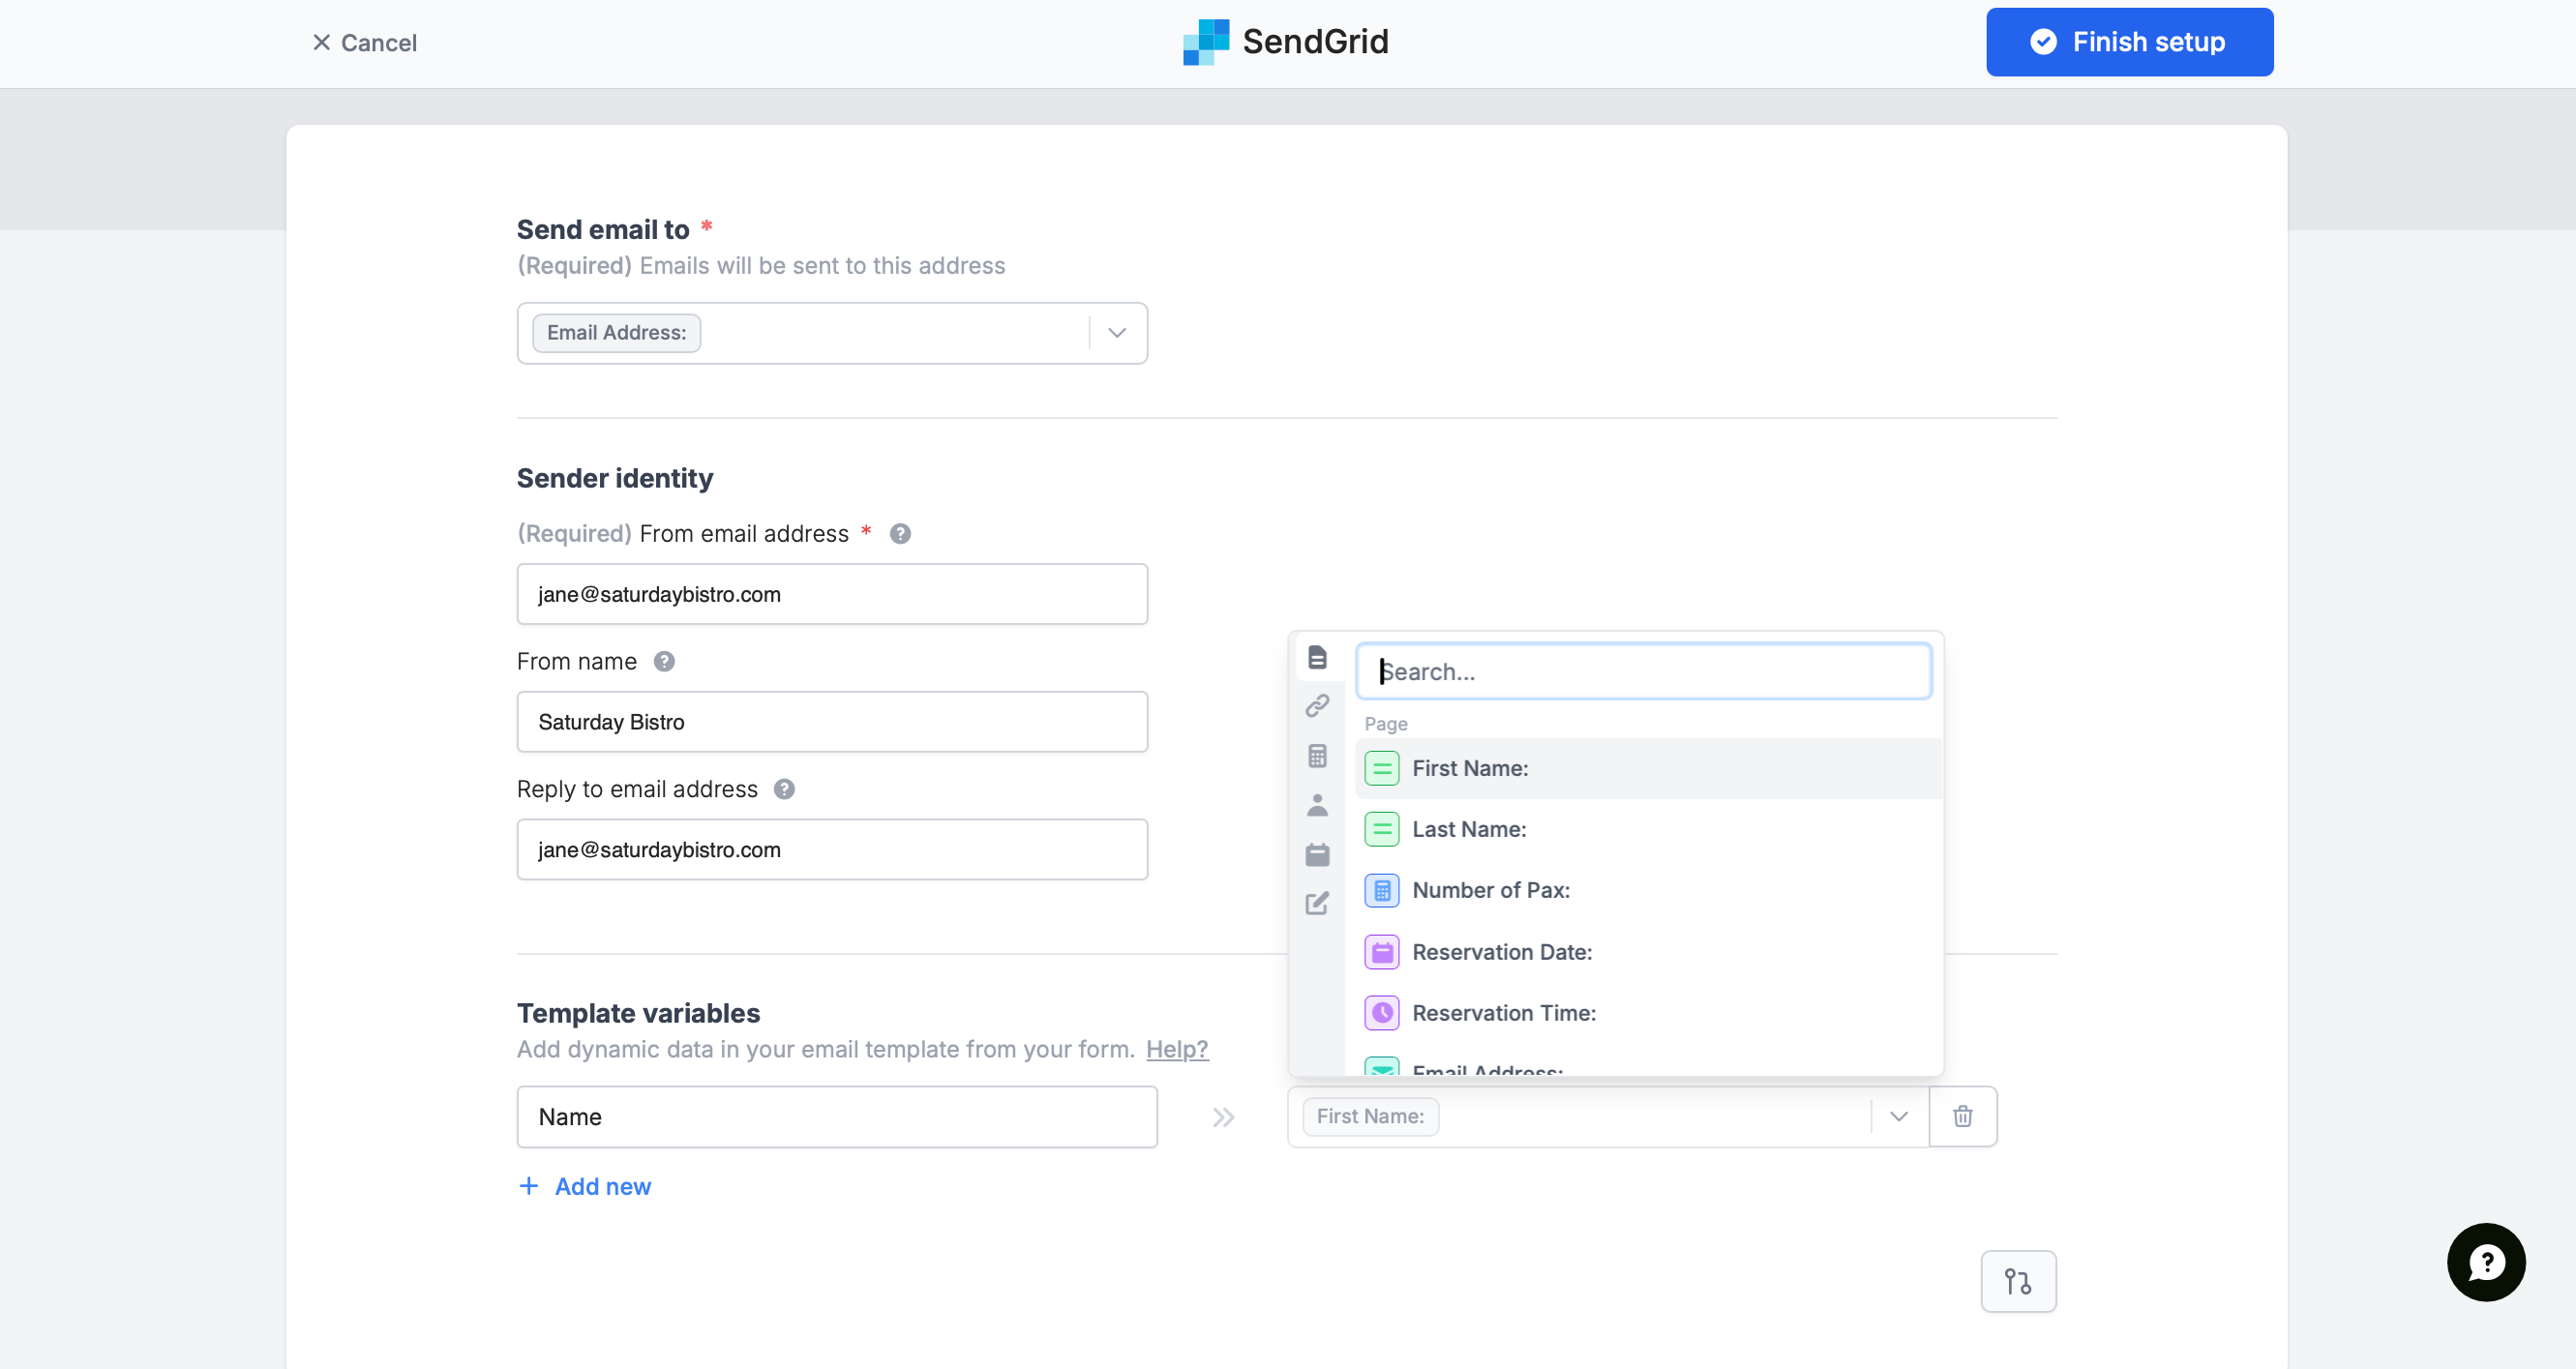 You can personalize emails, by inserting dynamic data under **Template variables**. For example, we want the "Name" to change depending on the customer’s name. Once everything is set, click `Finish setup`.
Once you’ve finished creating your form, you’re ready to go! Simply `Publish` and share the link. Respondents will now receive the email template.
SendGrid's Free plan lets you send up to 100 emails per day, while the Essentials paid plan lets you send up to 50,000 emails per month.
## Send a freeform email
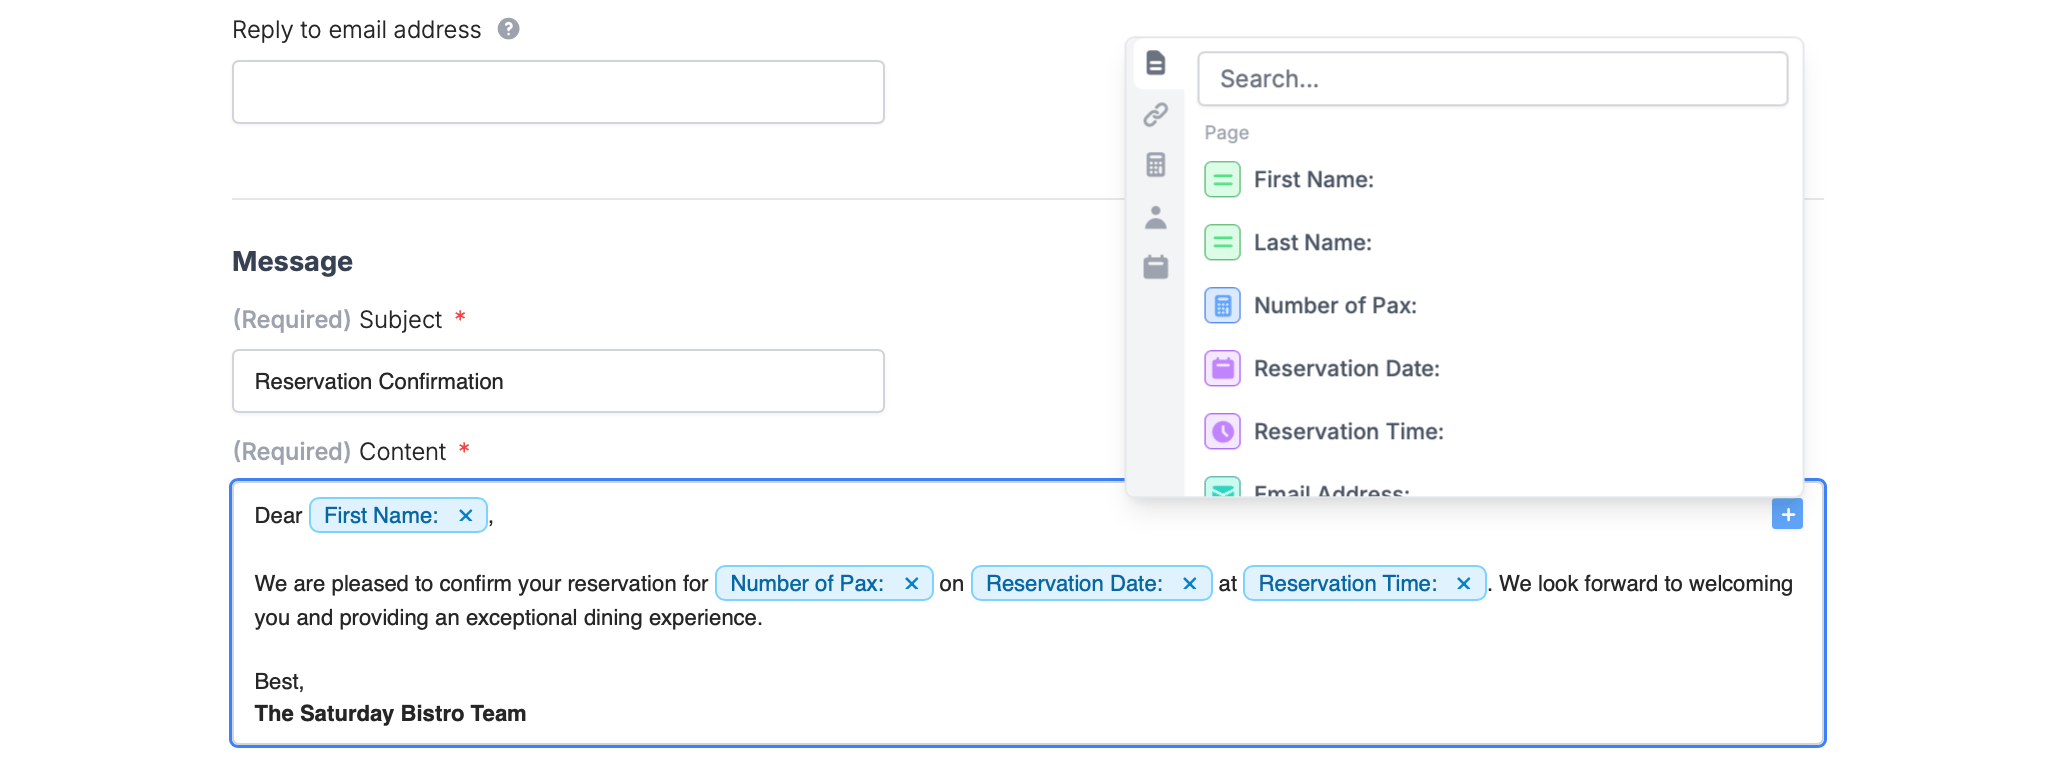
You can also send a plain custom-formatted email by choosing `Send email without template` and entering the recipient and sender details. [Reference form fields](https://www.fillout.com/help/additional-integration-mappings#how-to-map-fields-manually) by clicking or typing **@**.
You can personalize emails, by inserting dynamic data under **Template variables**. For example, we want the "Name" to change depending on the customer’s name. Once everything is set, click `Finish setup`.
Once you’ve finished creating your form, you’re ready to go! Simply `Publish` and share the link. Respondents will now receive the email template.
SendGrid's Free plan lets you send up to 100 emails per day, while the Essentials paid plan lets you send up to 50,000 emails per month.
## Send a freeform email
You can also send a plain custom-formatted email by choosing `Send email without template` and entering the recipient and sender details. [Reference form fields](https://www.fillout.com/help/additional-integration-mappings#how-to-map-fields-manually) by clicking or typing **@**.
 ## Add or update contact information
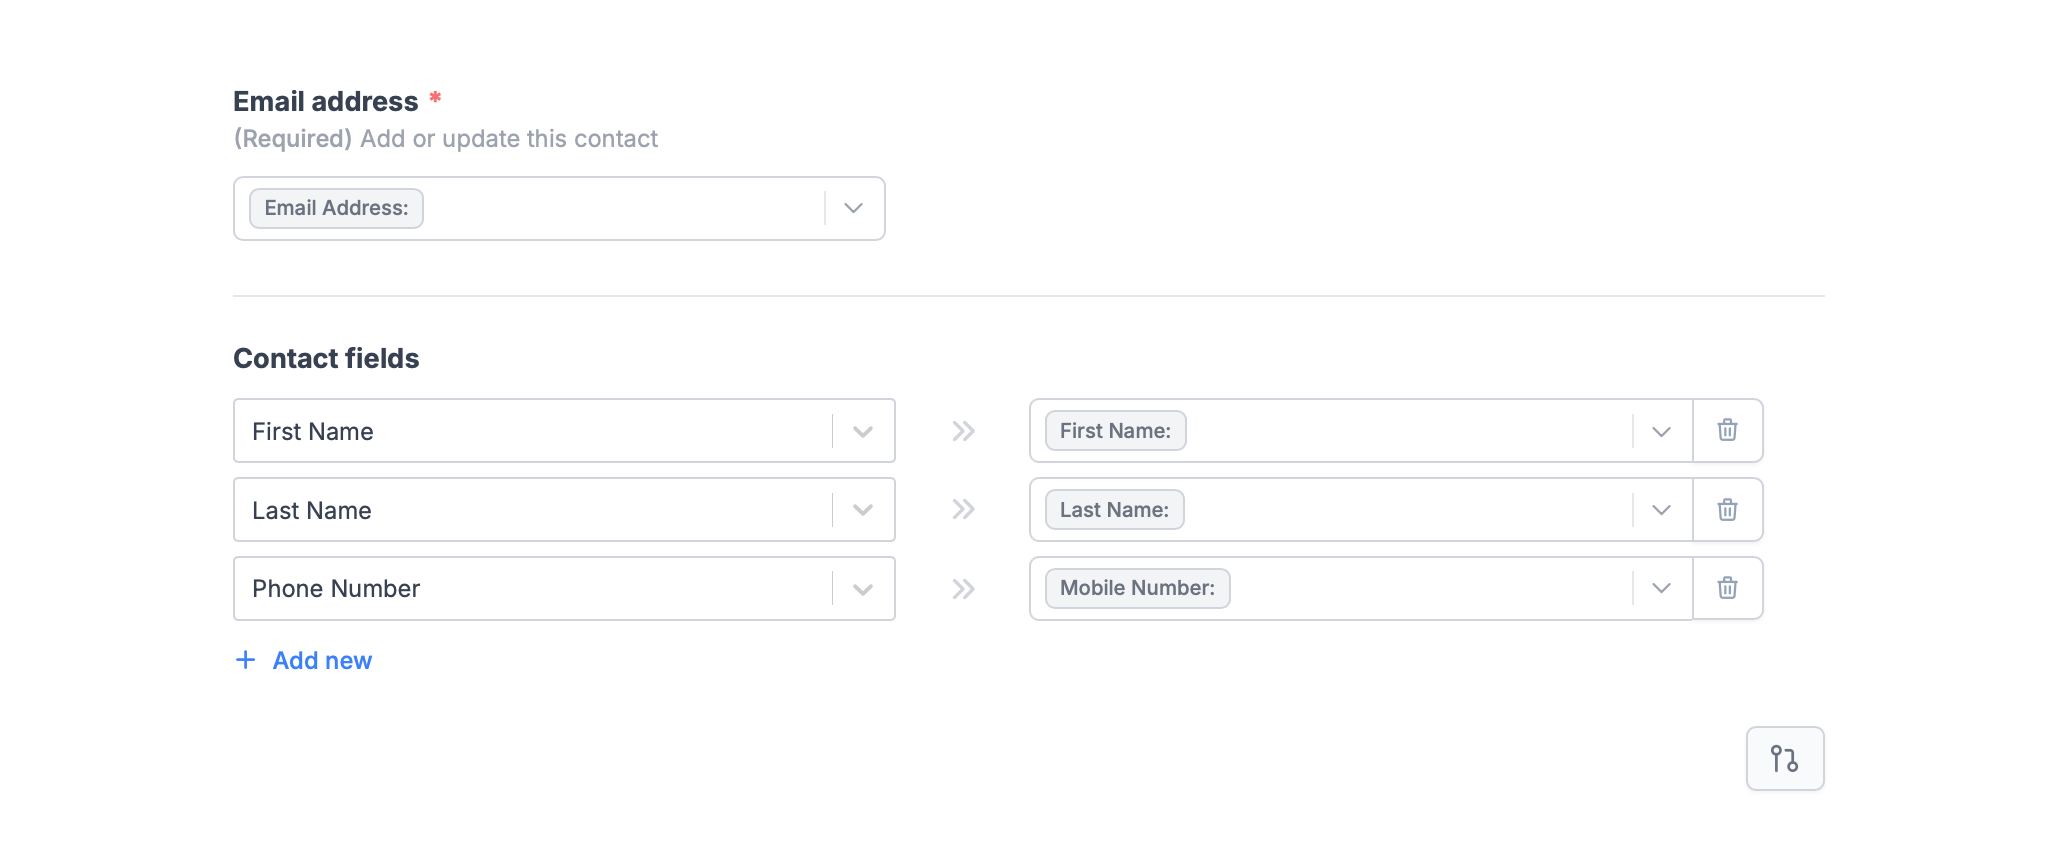
Skip sending an email and simply `Add or update contact`. Choose a **List** in your SendGrid account. Then, link the **Email address field** and `+ Add new` **Contact fields** as you see fit. [Map](https://www.fillout.com/help/additional-integration-mappings#how-to-map-fields-manually) the SendGrid fields on the left to their respective Fillout fields on the right.
## Add or update contact information
Skip sending an email and simply `Add or update contact`. Choose a **List** in your SendGrid account. Then, link the **Email address field** and `+ Add new` **Contact fields** as you see fit. [Map](https://www.fillout.com/help/additional-integration-mappings#how-to-map-fields-manually) the SendGrid fields on the left to their respective Fillout fields on the right.
 ## Specify a condition
If necessary, you can run your integration only when a specific condition is met. Click [here](/conditional-integration) to learn how to.
## Personalize your email in Sendgrid
You can use **handlebars** in Sendgrid to [pipe a respondent's information](https://docs.sendgrid.com/for-developers/sending-email/using-handlebars) in the notification email. For example, we'll personalize the email by adding the respondent's name. Simply type `{{ name }}` anywhere on your email.
## Specify a condition
If necessary, you can run your integration only when a specific condition is met. Click [here](/conditional-integration) to learn how to.
## Personalize your email in Sendgrid
You can use **handlebars** in Sendgrid to [pipe a respondent's information](https://docs.sendgrid.com/for-developers/sending-email/using-handlebars) in the notification email. For example, we'll personalize the email by adding the respondent's name. Simply type `{{ name }}` anywhere on your email.
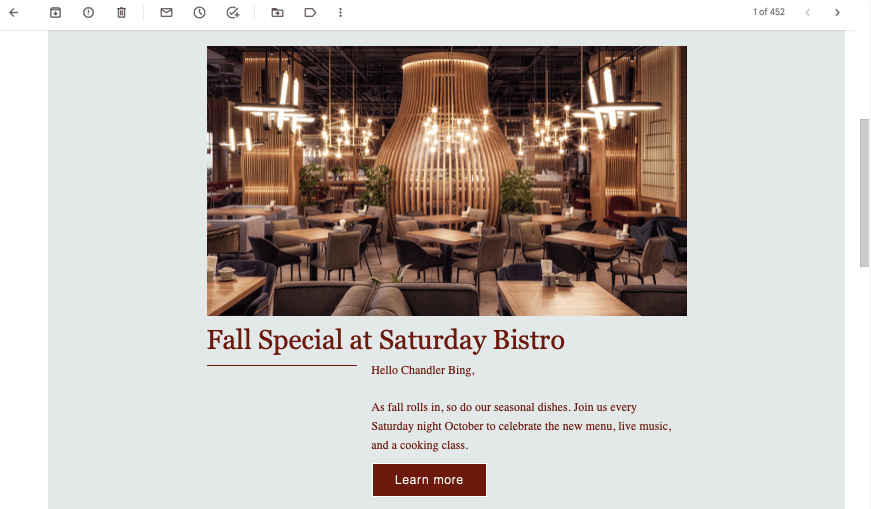
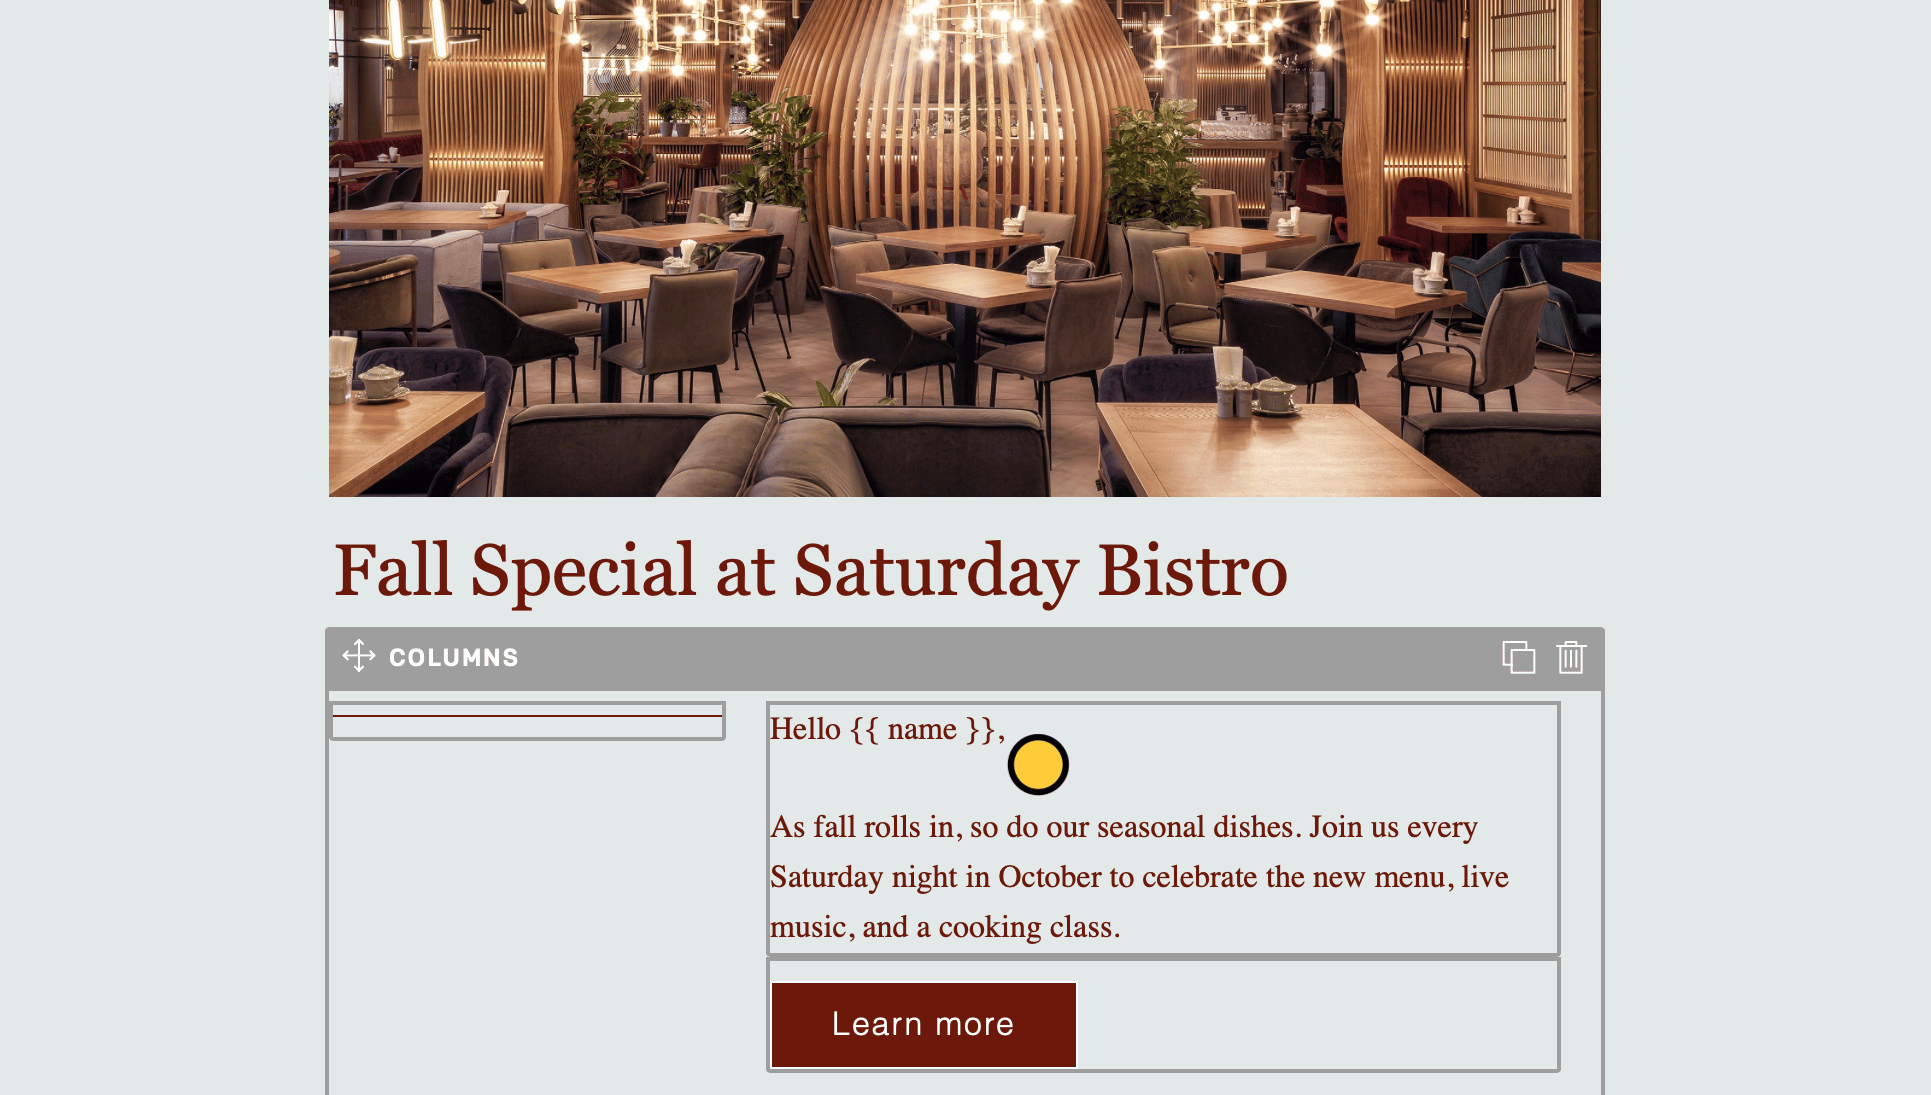 When a respondent completes your form, they will be receiving a personalized email like the one below.
 ## Related articles
Perform an integration only when a certain condition is met.
Calculate prices for order forms, compute quiz scores, and more.
Automate SMS updates to customers.
## Related articles
Perform an integration only when a certain condition is met.
Calculate prices for order forms, compute quiz scores, and more.
Automate SMS updates to customers.